Path 1: Call the Professionals (Greater Vancouver Area) If you are dealing with a severe leak and are located in Greater Vancouver, VPS is here to help with Emergency Pipe Leak Repair in Vancouver. We offer 24/7 emergency plumbing services, meaning our expert plumbers are ready to dispatch to your location at any hour of the day or night to resolve the issue safely and permanently.
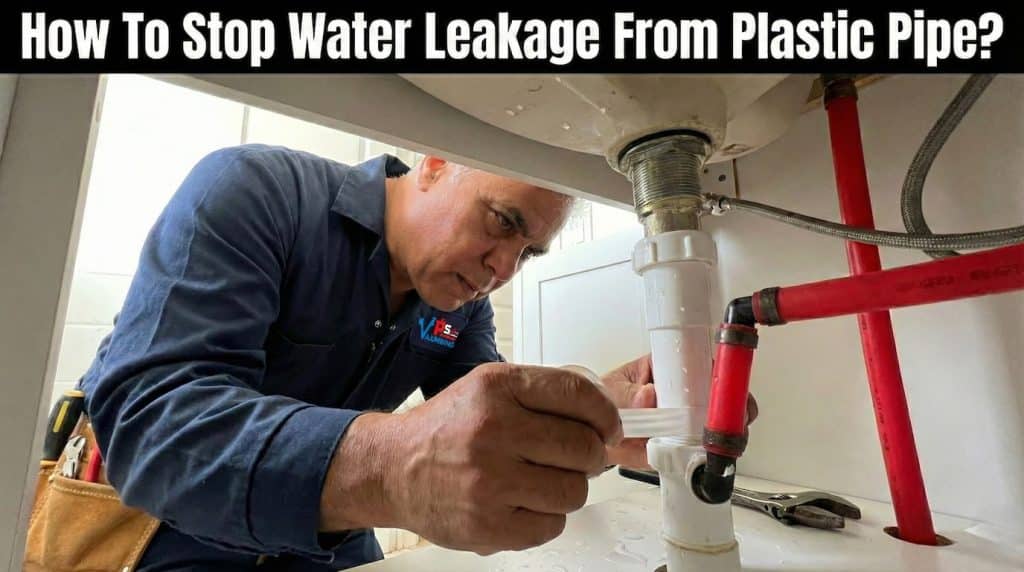
Path 2: The DIY Approach If you are outside of our service area, prefer to fix it yourself, or simply need to stop the flooding right now while you wait for our VPS technicians to arrive, take a breath. Whether your plumbing system uses PVC, CPVC, or flexible PEX, knowing how to secure a plastic pipe can save your home and your wallet.
Here are the most effective, actionable methods to secure that leak right now.
Phase 1: Immediate Mitigation
Before you attempt any repair, you must stop the active flow of water and prepare the surface.
1. Shut Off the Water: Immediately locate and turn off your home’s main water supply valve. This is usually located near your water meter or where the main line enters your house.
$$Image Placeholder: A close-up of a hand turning a red gate valve or a lever-style ball valve on a main water line$$
2. Drain the System: Even with the water off, residual pressure and water remain in the pipes. Open the lowest faucet in your home (like a basement sink or an exterior hose bib) to drain the remaining water out of the line.
3. Dry the Pipe Completely: This is the most critical and often overlooked step. Most sealants, tapes, and epoxies will fail if applied to a wet surface. Use dry towels to wipe down the exterior of the pipe completely. If necessary, use a hairdryer on a low setting to ensure the cracked area is bone dry.
Phase 2: Temporary & Semi-Permanent Solutions
If you need to get the water back on quickly while you wait for a plumber or prepare for a permanent fix, these temporary methods are highly effective.
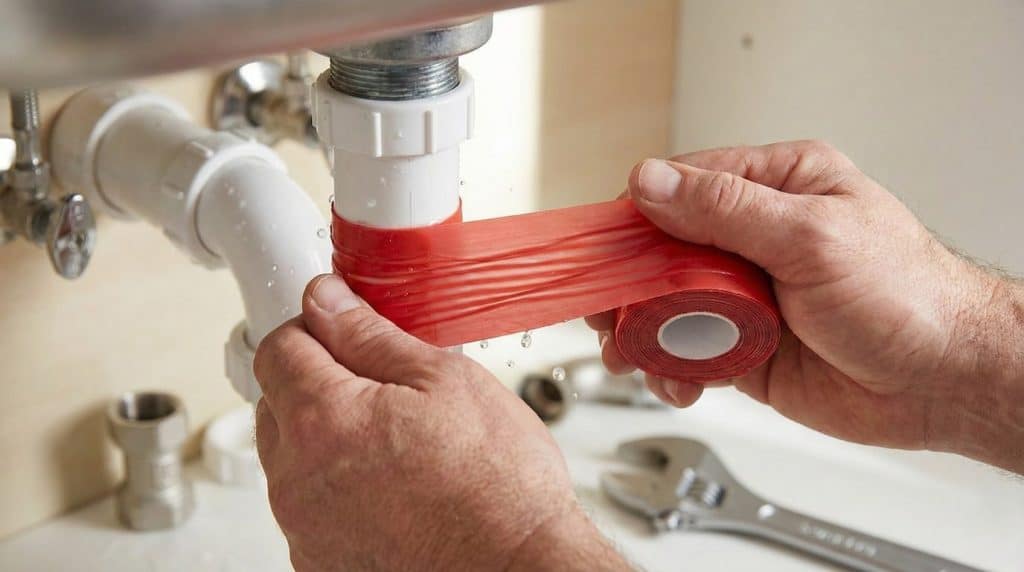
Method A: Silicone Repair Tape
Also known as self-fusing tape, silicone repair tape is a plumber’s best friend for temporary fixes. Unlike traditional adhesive tapes, silicone tape works by chemically bonding to itself rather than sticking to the pipe.
To apply it, anchor the tape slightly to one side of the leak. As you wrap, stretch the tape tightly, activating its fusing properties, and overlap each wrap by at least half the width of the tape. Continue wrapping until you have extended well beyond the leak zone on both sides.
Method B: Plumber’s Epoxy Putty
For slightly larger cracks or awkward joints, plumber’s epoxy putty provides a hardened, semi-permanent seal. This comes as a two-part cylindrical stick.
Cut off a piece of the putty and knead it thoroughly with your fingers until the two colors blend into one uniform color. Once mixed, the chemical reaction begins. Press the putty firmly over the crack or pinhole, shaping it tightly around the contour of the plastic pipe. Crucial step: You must allow the putty to cure completely according to the manufacturer’s instructions (usually 30 to 60 minutes) before turning the water supply back on.
$$Image Placeholder: A person pressing grey, mixed epoxy putty over a joint in a plastic plumbing pipe$$
Method C: Rubber and Hose Clamps
If you are dealing with a distinct pinhole leak and have basic hardware on hand, the rubber-and-clamp method is an old-school, highly reliable patch.
Cut a piece of heavy-duty rubber, like an old bicycle inner tube or a thick rubber gasket, so that it extends a few inches past the hole. Place the rubber directly over the leak, and secure it tightly using one or two stainless steel gear clamps (hose clamps). Tighten the clamps with a screwdriver until the rubber is compressed firmly against the plastic, sealing the breach.
Phase 3: Permanent Replacement
Tape and putty will buy you time, but replacing the damaged section is the only definitive, long-term fix.
Method D: Push-to-Connect Fittings
Modern plumbing technology has made replacing a section of pipe incredibly easy, even for beginners, using push-to-connect slip couplings (such as the SharkBite brand).
- Cut out the damage: Using a PVC pipe cutter or a fine-toothed hacksaw, cut squarely through the pipe to remove the entire damaged section.
- Deburr the edges: Use a deburring tool or sandpaper to smooth the cut edges of the plastic pipe. If the edges are sharp, they will slice the rubber O-ring inside the new fitting, causing a new leak.
- Install the coupling: Mark the proper insertion depth on your pipes. Then, simply push the slip coupling onto one end of the existing pipe, and slide it over to connect to the other end. These fittings use stainless steel teeth to grip the plastic and an O-ring to create a watertight seal. No messy purple primer or toxic PVC glue is required.
Conclusion
When a plastic pipe bursts, acting quickly is your best defense. Silicone tape and epoxy putty are fantastic ways to buy yourself time and get your household running again. However, physical replacement of the compromised pipe is the only way to ensure total safety. If the leak is located behind a finished wall, under a slab, or if the plastic pipe is extensively fractured, turn off the water and call a licensed professional immediately.